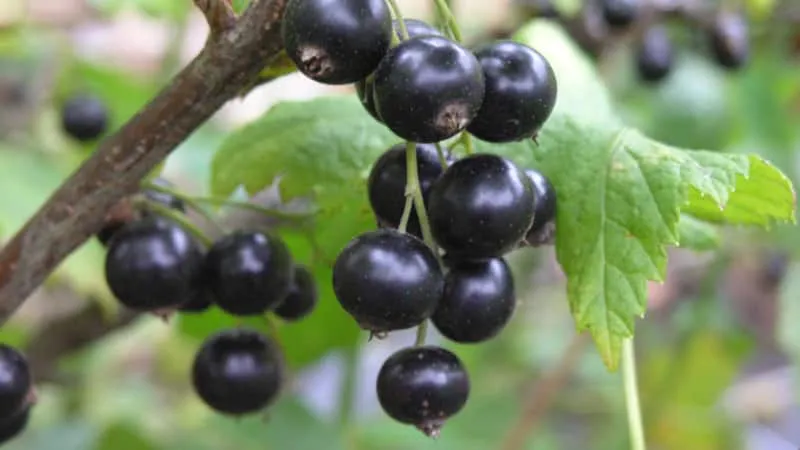
Blackcurrants are loved by both children and adults—they are among the most beneficial and delicious berries from the garden. However, their ripening period is short—they can be enjoyed fresh for only a few weeks. For this reason, various preservation methods are popular. One of the most common is canning, but this process often diminishes flavor and nutritional value. As an alternative, many opt for drying blackcurrants.
In this article, we’ll explain how to dry blackcurrants at home, what to consider when storing them, and how to use the preserved berries.
Table of contents
Can You Dry Blackcurrants?
Canning involves heat treatment, which destroys many beneficial compounds in fruits and berries. This drawback is especially noticeable when preserving vitamin-rich berries like blackcurrants.
Did you know? Blackcurrants have been known in Europe since ancient times and were considered a medicinal berry.
Canning isn’t the only way to preserve blackcurrants for winter. Drying is much gentler than boiling and helps retain more vitamins, nutrients, and the berry’s natural taste and aroma.
Preparing Blackcurrants for Drying
While drying isn’t a complicated process, it requires following certain rules—starting with proper preparation.
Harvest blackcurrants on a sunny day, as wet berries don’t store well. Select only fully ripe berries and discard any that are diseased or spoiled, as they can contaminate the rest. Currants picked in clusters are ideal for drying.
After harvesting, wash the berries and let them air-dry. Spread them on a soft towel to absorb excess moisture.
How to Dry Blackcurrants Properly
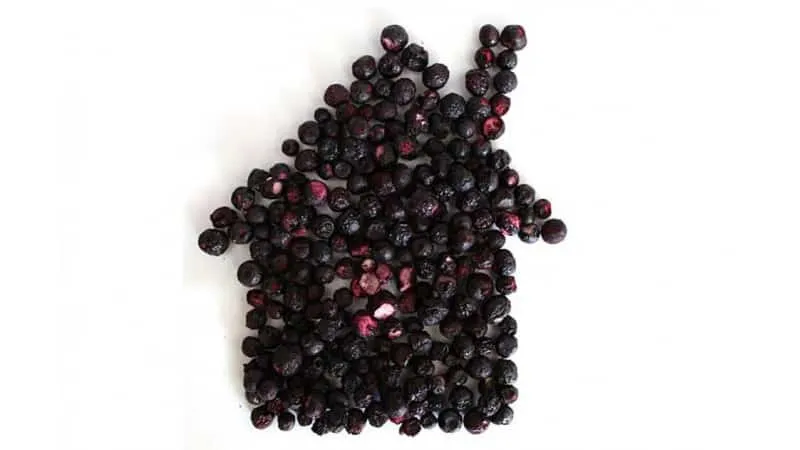
Blackcurrants contain about 85-90% water. To be considered properly dried, this must be reduced to 15%. Be careful not to over-dry them, as this will degrade both flavor and nutritional value.
There are several methods for drying blackcurrants. Some require only sunlight and air, while others need special equipment. Drying conditions and time vary.
Air Drying
This is the oldest drying method. Due to its simplicity, many gardeners still use it.
Wooden trays or racks work best—metal can impart an unpleasant taste. Line the surface with parchment or baking paper, then spread the berries in a single, even layer. Avoid overcrowding, as this leads to uneven drying.
Cover the berries with cheesecloth and place the trays on a balcony or in an attic. Check periodically and stir gently to prevent spoilage.
Air drying takes about two days. Once most moisture has evaporated, transfer the berries to an oven preheated to 55°C (131°F) for 5-6 hours. Finally, store them in glass or ceramic containers.
This hybrid method helps retain maximum vitamins.

Sun Drying
Sun drying is another traditional and straightforward method.
Here’s how to do it:
- Line a wooden tray with parchment or baking paper.
- Spread the berries in a single, even layer.
- Place the tray in the shade initially, then move it into sunlight once some moisture has evaporated. Avoid midday sun to prevent nutrient loss.
- Cover with cheesecloth or thin cotton to protect from insects.
- Stir occasionally to ensure even drying.
Sun drying takes about two days. Afterward, finish the process in an oven for 5 hours.
Important! Direct sunlight degrades vitamin C, so combine sun drying with other methods like oven or microwave drying.
Oven Drying
Oven drying is the most popular method—it’s fast and efficient.
Steps:
- Line a baking tray with parchment (preferably double-layered) or aluminum foil.
- Spread the berries in a single layer.
- Preheat the oven to 45°C (113°F) and dry for 1 hour to wilt them slightly.
- Remove and let cool. Increase oven temperature to 70°C (158°F).
- Return the berries and dry for another 2 hours.
Store the dried berries once cooled. Avoid high initial temperatures, as this creates a crust that traps moisture.
Tip: Larger berries may need up to 3 hours.
Microwave Drying
Microwaving is quick but suitable only for small batches. It won’t work for large harvests.
Line a microwave-safe plate with a cotton cloth or paper towel. Spread the berries in a single layer and cover with another towel. Microwave at 200W for 5 minutes. Check and stir every 30 seconds if further drying is needed.
Electric Dehydrator
Electric dehydrators are designed specifically for drying fruits and berries. Ideal for those who prefer drying over canning.
Set the temperature to 50-55°C (122-131°F). Higher temperatures may cause hardening. Spread the berries in a single layer on trays. After 10 minutes, place them in the dehydrator. Total drying time is around 50 hours.
Checking Doneness
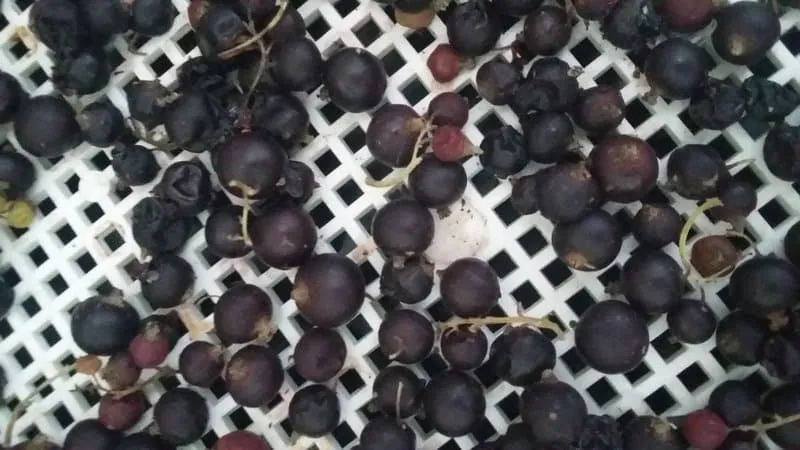
During drying, the berries change color—first to a reddish-brown, then dark red. When they wrinkle and turn nearly black, they’re ready.
Shake the berries to check. Larger ones may need more time. Once fully blackened and fragrant, cool and store them.
Storing Dried Blackcurrants
Follow these storage rules:
- Keep in a dark place—sunlight degrades vitamin C.
- Use glass or ceramic containers with tight lids to prevent moisture.
- Store in a warm, dry area.
Avoid metal containers—they impart a metallic taste. Cardboard boxes with tight lids are an alternative.
Important! Always cool berries to room temperature before storing. Hot berries create condensation, leading to mold.
Uses for Dried Blackcurrants
Dried blackcurrants are versatile. They enhance kvass, ferment birch sap naturally, and flavor homemade liqueurs.
Their medicinal properties remain intact. They have antiviral effects, help prevent colds, and reduce fever. Brew them into teas or decoctions for immune support.
Use dried currants in compotes, desserts, or as a spice. They work well in cheesecakes, puddings, and even ice cream.
Drying Blackcurrant Leaves
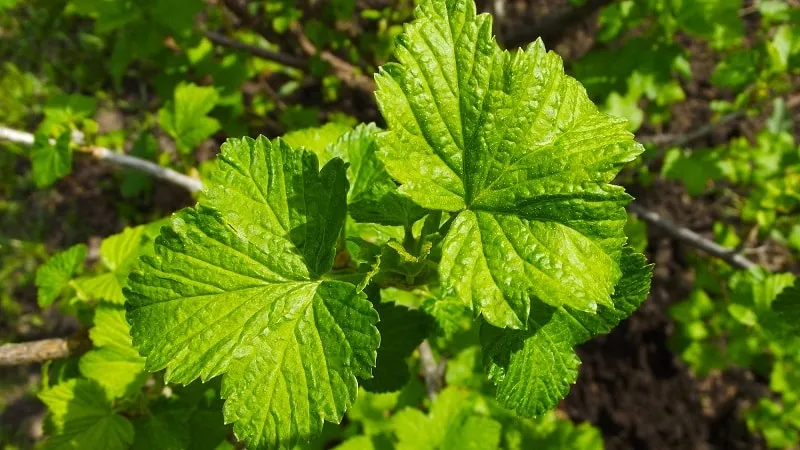
Blackcurrant leaves are also worth preserving. They make a fragrant, health-boosting tea.
This tea fights colds and provides essential vitamins. However, avoid it if you have ulcers or high stomach acidity.
Note: Collect leaves in dry weather, preferably in the morning or evening. Dry in a single layer on paper or cloth in a well-ventilated area.
Store fully dried leaves in airtight containers. For faster drying, use a dehydrator.
Another method is fermentation:
- Leave leaves in a dark room for 24 hours, stirring occasionally.
- Roll into tubes to release juices.
- Place in glass jars, cover with a damp cloth, and keep warm. Re-wet the cloth as needed.
- Ferment until a strong sweet aroma develops.
- Chop, spread on a tray, and dry in a 70°C (158°F) oven for 1 hour.
Store fermented leaves in dark, dry places in sealed containers.
Conclusion
Blackcurrants are one of the healthiest garden berries. Though their season is short, proper drying allows year-round enjoyment. Drying preserves nutrients better than canning.
By following the right techniques, you can enjoy delicious, vitamin-rich blackcurrants in teas, desserts, and more—anytime.