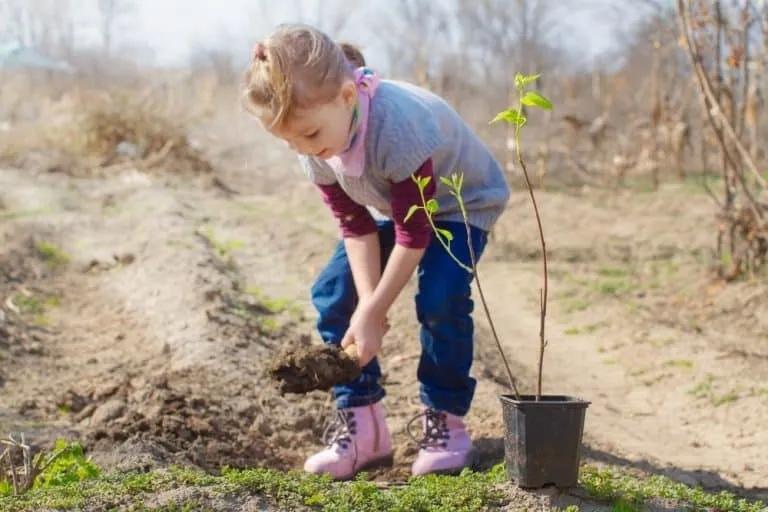
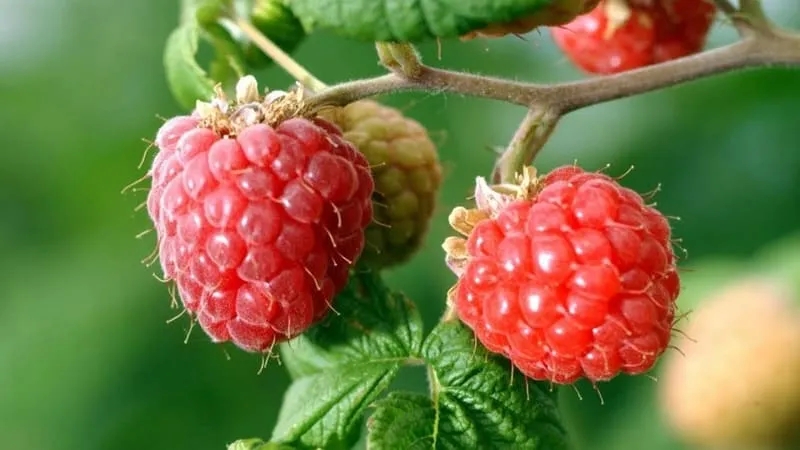
The process of propagating redcurrants is largely similar to that of blackcurrants. The only difference is that redcurrants root less effectively due to their slower root formation. Therefore, for propagation, it is recommended to use the layering method or obtaining planting material by cutting woody or green cuttings. For more details on how to propagate redcurrants, read our article.
Table of contents
When to Propagate Redcurrants
The timing of redcurrant propagation depends on the chosen method. In spring, the plant is propagated using woody shoots, while in late summer and early autumn — with green cuttings and layering.
Any of these methods requires experience and skill, as redcurrants root much worse compared to blackcurrants. To stimulate root formation, gardeners often use rooting hormones such as "RootBoost," "Clonex," or "SuperThrive."
To propagate currants, you will need the following tools:
- a shovel for digging,
- a rake for clearing weeds,
- a hoe for loosening the soil,
- pruning shears for cutting cuttings.
Preparing the Soil and Planting Material
Redcurrants are best planted in autumn in temperate climates. Over the autumn-winter period, the soil settles and compacts. In spring, the bushes begin active growth and establish well.
In regions with mild winters, root freezing is possible, so seedlings are planted in spring, while in autumn they are temporarily buried. In spring, seedlings are shaded or pruned short to prevent bud break.
Before planting, the area is plowed, and fertilizers are added: organic — 3–4 kg of compost, mineral — 100–150 g of granular superphosphate, 20–30 g of potassium sulfate.
Note. Before planting, inspect the seedlings, removing dry and damaged roots and branches. The root system is dipped in a clay slurry to prevent moisture loss.
The planting density of redcurrants depends on the variety, soil fertility, and bush formation method. Spreading and vigorous varieties are planted more sparsely, while compact bushes are planted closer together. The row spacing should be 1.5 m.
Rooting
Prepared woody cuttings are placed in a container with a rooting hormone solution for 12 hours. The top cut is dusted with crushed activated charcoal.
The trench is prepared in autumn, and in spring, the cuttings are planted in moist soil, which by then should have warmed to at least +8°C. If this is not possible, the soil is thoroughly watered before planting.
A drainage layer of coarse sand or gravel is placed at the bottom of the trench. A nutrient substrate is then added, made from garden soil, well-rotted manure, wood ash, and river sand to improve soil aeration.
The planting material is planted, burying it 2-3 cm into the soil. The cuttings are placed at a 45° angle, spaced 60-70 cm apart.
After planting, the soil is compacted and mulched with peat. The plants are covered with transparent plastic bags to create a favorable microclimate for better root development.
How to Propagate Redcurrants: Different Methods
Experienced gardeners face no difficulties propagating blackcurrants due to their excellent rooting ability. Properly prepared cuttings root in 90% of cases. Redcurrants, however, are trickier, as they root more slowly. The simplest propagation method is layering. The second most effective method is planting woody cuttings, which allows growing multiple new bushes.

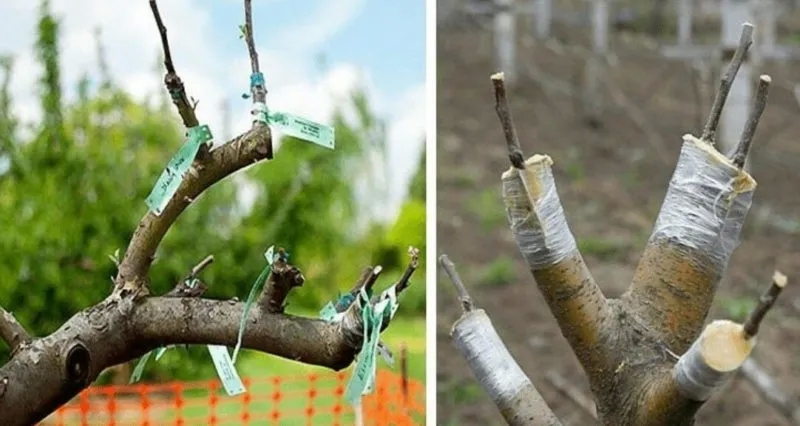
Woody Cuttings
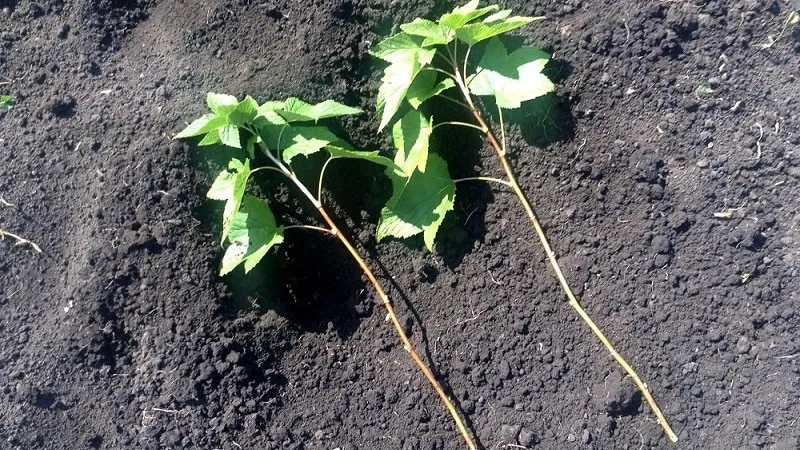
Redcurrants root best from cuttings taken from the top part of the branch. The optimal length is 4–6 buds. A diagonal lower cut is made 2 cm below a bud using a garden knife. The upper cut should be straight, 1 cm above the top bud. All foliage is removed.
The cuttings are then planted in pots with nutrient substrate or a seedling bed. Individual containers are advantageous because the planting material can be placed anywhere in spring. The roots suffer less damage during transplanting, as the young plant is removed with the soil intact.
The soil for rooting woody cuttings should be loose, well-draining, and aerated. The cuttings are planted at a 45° angle, with the lower bud facing downward. Only one bud should remain above the soil surface.
The cuttings are watered with room-temperature water if planted in a seedling bed. Container-grown cuttings are buried in a convenient garden spot. Soil moisture is monitored until winter.
This method is used in spring or autumn, though many gardeners prefer early spring, combining propagation with post-winter pruning. From a one-year-old stem, 3–5 cuttings of 15–20 cm in length and about 7 mm in thickness can be obtained. The non-woody top part is discarded. Roots form below the buds and at the internodes.
The best time for planting cuttings is late March. After watering, the soil is mulched with sawdust or dry grass (layer thickness — at least 3 cm). By late summer, the cuttings grow into mature bushes, which are then transplanted.
More experienced gardeners root cuttings in winter, preparing them in late autumn. Over 3–4 winter months, the cuttings root under near-summer conditions. In spring, almost mature plants are transplanted outdoors. They adapt to late frosts and handle transplanting well. Timing is crucial — cuttings should be taken when buds enter dormancy (e.g., late September).
Green Cuttings
Green cuttings are used if woody cuttings fail. A green cutting snaps easily when bent.
Harvesting is done in the morning during cool, rainy weather. Cuttings should be 12–15 cm long with 4–5 leaves. The top cut is made 5 mm above a bud, while the lower cut is diagonal, at least 10 mm below a bud.
Before planting, lower leaves are halved, and cuttings are soaked for 24 hours in a rooting hormone. A homemade solution can be made using indole-3-butyric acid (IBA) or indoleacetic acid (IAA) mixed 1:1 with water.
Cuttings are planted 3–5 cm deep in a nutrient substrate (equal parts peat, compost, and sand). Green cuttings are planted in a greenhouse or open ground but must be covered with plastic film. If few cuttings are available, they can be covered with glass jars or plastic bottles.
Note. Rooting is faster in high humidity. In a greenhouse, cuttings are misted with warm water several times a day for 20 days, and the soil is kept moist.
Non-woody cuttings must be shaded from harsh sun to prevent burns. After 20 days, watering is reduced, and nitrogen fertilizers are applied. After another 10 days, the cover is gradually removed to harden the plants. Hardening lasts a week. The young plants are then transplanted to a nursery bed for a year before moving to their permanent location.
Layering
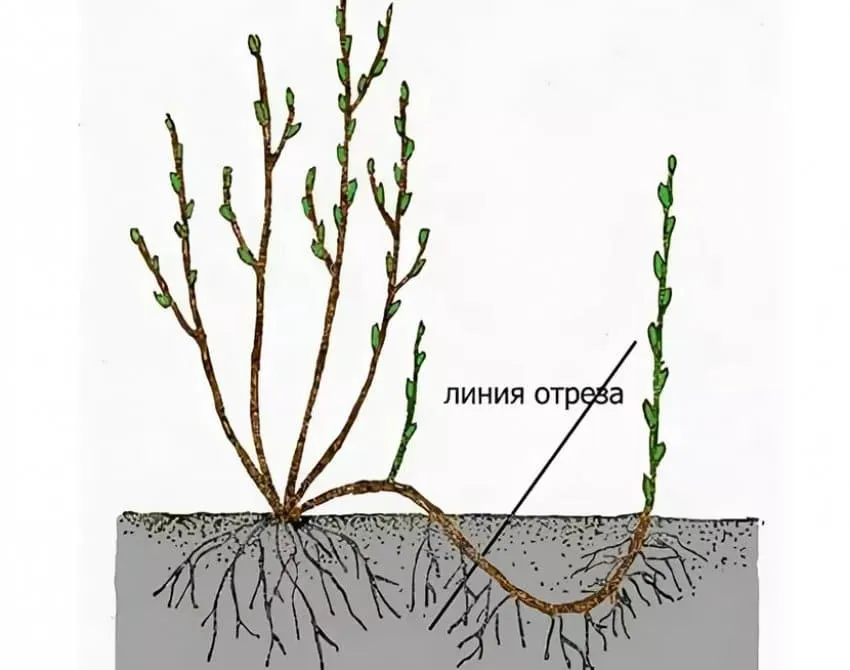
Layering is the easiest way to propagate redcurrants. In spring, select the strongest and longest shoots from the mother plant and bury them. Sometimes, the shoots are secured with stakes.
Shallow trenches (15 cm deep) are dug near the bush and filled with a mix of compost, manure, turf, or peat. Two- to three-year-old branches are used as layers. The buried shoots are covered with substrate up to ground level, then with plain soil, compacted so the mound does not exceed 5 cm in height.
By autumn, the layer will have rooted and can be separated from the mother plant. One layer yields 3–5 bushes, which are transplanted in autumn. Rooting takes up to 2 years. During this time, a mature bush forms, bearing fruit just like the mother plant by the third year. From 2–3 layers, 10–15 new plants can be obtained.
Dividing the Bush
Division is less common, as it is considered inefficient and stressful for the plant. This method involves splitting the bush into fully plantable sections. It is done in late autumn after the growing season ends.
First, a new planting site is prepared with holes 60–70 cm deep, filled with a mix of humus, ash, and turf, then watered. The bush is carefully dug up to avoid root damage. Only one-year-old non-woody shoots are kept, pruned to 25 cm. Old branches are cut off. The bush is divided into 2–3 parts, each with strong roots and shoots. The divisions are planted, watered, and hilled.
Further Care for Redcurrants
Post-propagation care guidelines:
- For the first 3 weeks, maintain high humidity. Remove covers daily and mist the bushes. Green cuttings are sprayed up to 5 times a day.
- Keep the temperature around +25°C during the day and no lower than +16°C at night.
- Water moderately in the morning and evening. The soil should stay slightly moist. Even brief dryness can kill young plants.
- Rooting begins after 2–3 weeks. Reduce watering and apply nitrogen-rich fertilizers to boost foliage growth.
- Feed with a mineral solution: 50 g ash and 10 g superphosphate per 10 L water. Let it sit for 48 hours before use. Apply every 2 weeks until September. Once rooted, new leaves appear, and covers can be gradually removed.
With proper care, by mid-autumn, the seedlings grow into 50 cm bushes with young shoots. Greenhouse-grown plants are transplanted; weaker ones are left until spring. Poorly developed seedlings should be discarded.
Tips from Experienced Gardeners
Follow these tips for successful redcurrant propagation:
- Plant seedlings in well-lit areas within the garden.
- Maintain at least 1.5 m between bushes.
- Plant near fruit trees with sparse canopies.
- Prepare the soil in advance: add organic or mineral fertilizers 6 months before planting.
- Plant at an angle for better water absorption. The bush will straighten over time.
- Redcurrants thrive with ample watering and prefer moist soil. Plant in low-lying areas or near streams.
- Water generously in spring (3–4 times daily for 2–3 weeks) and in autumn (1–2 weeks before frost).
Conclusion
Propagating redcurrants via cuttings yields many young bushes, but layering is the most effective method. The planting material roots quickly, and within 2–3 years, you can harvest abundant tart-sweet berries.
Post-propagation care involves maintaining optimal moisture, creating a greenhouse effect for root and leaf development, and applying mineral and organic fertilizers.