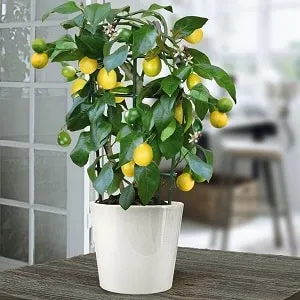
Grafting a lemon tree is the easiest way to make it bear fruit faster and feel like a breeder. Even on a wild plant grown from a seed, grafts of various varieties and hybrids—or even other citrus species—take root easily. And lemons are the most likely to yield a positive first grafting experience.
Many people are afraid to attempt this procedure, but in reality, it doesn’t require significant time or money and is quite simple to perform. The key is choosing the right grafting method and following step-by-step instructions. Read on to learn how to graft a lemon tree at home to ensure it bears fruit.
Table of contents
Advantages of Grafting a Lemon Tree
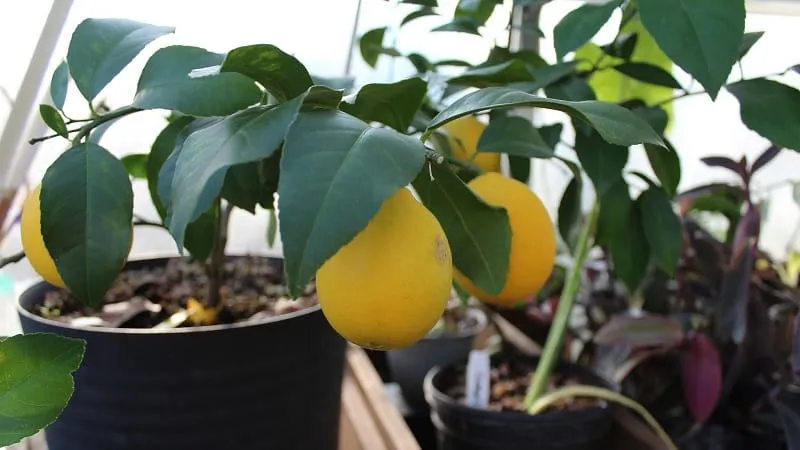
A potted lemon tree grown from a seed is a wild plant. It will produce small, tart, and sour fruits, with the first fruiting expected no sooner than five years.
Grafting a lemon requires following instructions and knowing certain nuances. Many beginner gardeners avoid it, preferring to wait for natural fruiting.
In reality, even a first-time plant grower can successfully graft a lemon. A grafted tree has several advantages over an ungrafted one:
- Faster fruiting. A scion taken from a tree that has already borne fruit can yield a harvest in 1–2 years. This also significantly increases the chances of the tree producing fruit at all.
- Preserved varietal traits. Seeds from store-bought lemons grow into wild plants. Grafting a branch from a cultivated variety ensures the fruit will retain its desirable traits—larger size and better taste.
- Hybrid possibilities. You can graft not only lemon branches but also scions from other citrus plants, such as oranges or limes. This allows you to grow multiple citrus types on one tree.
In most cases, the graft takes successfully. Problems usually arise only if the procedure is done incorrectly.
Preparing for Grafting
Before grafting a lemon tree at home, it’s important to prepare. All tools and materials should be ready at hand.
Materials and Tools
Grafting a lemon doesn’t require expensive equipment. You’ll need the following basic tools:
 Pruning shears or a sharp utility knife for clean cuts. Sterilize them with alcohol or a dark pink potassium permanganate solution. Alternatively, briefly heat the metal part over a flame.
- Grafting tape or floral tape to secure the scion. If unavailable, use standard electrical tape (applied sticky side out).
- A clean cotton cloth to wrap the scion if needed.
- Grafting wax or pruning sealant to disinfect cuts and promote healing.
- Plastic wrap, a bag, or a cut bottle to create a mini-greenhouse for the grafted plant.
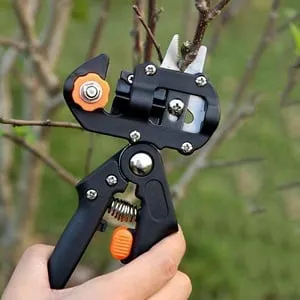
Specialized grafting knives or shears ensure the cleanest cuts, improving success rates.
Tip: If you don’t have gardening tools, a surgical scalpel is an excellent substitute—often cheaper than a utility knife.
Preparing the Scion and Rootstock
 The best rootstock (base) is a lemon grown from a seed. Such seedlings are hardy and heal quickly, making grafts more likely to take.
The rootstock should be at least one year old. Older trees can also be grafted without removing all branches.
Replant the tree at least two months before grafting. This ensures it’s stable and healthy.
Water the lemon generously a day before grafting and apply a growth stimulant. Ensure the tree is disease-free. Clean the trunk of dust and debris—washing it under a shower a few days prior helps.
For the scion, use one-year-old branches with firm but flexible bark and at least 1 bud (2–3 buds for cleft grafting).
The donor tree must have fruited before, or the graft won’t speed up production. Most citrus varieties work, but mandarins graft more slowly.
Use the tip of a branch with enough buds for the chosen method. Make a clean, angled cut in one motion. Seal the donor branch with grafting wax.

The best time to graft is late spring (April–May), when sap flow is strongest. Summer grafting is possible, but avoid autumn and winter.
If delayed, wrap the scion in damp cloth to prevent drying.
Note: Overcast days are ideal—high humidity and no direct sun help the graft heal.
Lemon Grafting Methods
Two main grafting techniques work well for lemons. Choose the one that suits your tree and skill level.
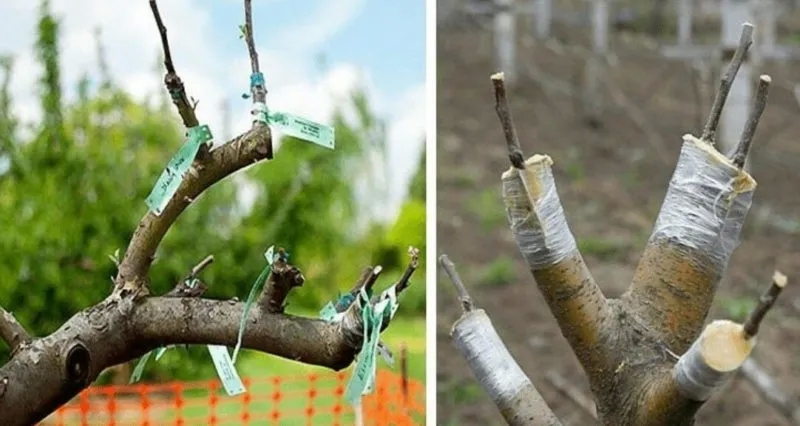
Cleft Grafting
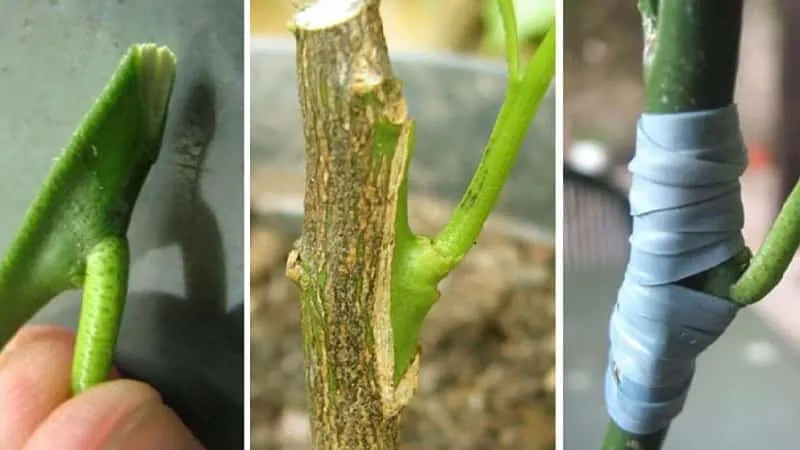
Cleft grafting attaches a lemon branch into a split trunk. It’s simple but best for young (1-year-old) trees.
Step-by-step guide:
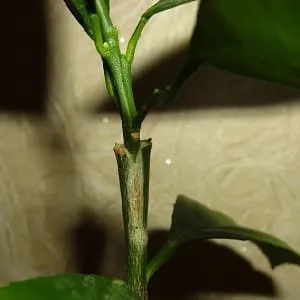 Trim the rootstock trunk, leaving about one-third above soil. Remove all leaves/buds from this section.
- Make a 1.5–2 cm deep vertical split in the center (use a scalpel with a rocking motion). Avoid widening the split too much.
- Cut the scion branch at a 45° angle, leaving 2–3 leaves and buds at the top.
- Sharpen the scion’s base into a thin wedge matching the split depth.
- Trim large leaves by half, medium leaves by a third, and leave small ones. Remove any extra foliage.
- Insert the scion deeply into the split, ensuring tight contact. Avoid cracking the rootstock.
- Wrap the joint tightly with tape, covering all exposed areas without strangling the trunk.
- Cut the scion tip above 2–3 buds and seal with wax.
- Water well, mist the plant, and cover with a plastic bag secured around the pot.
Keep the bag until new shoots appear, then gradually acclimate the tree to open air over a week.
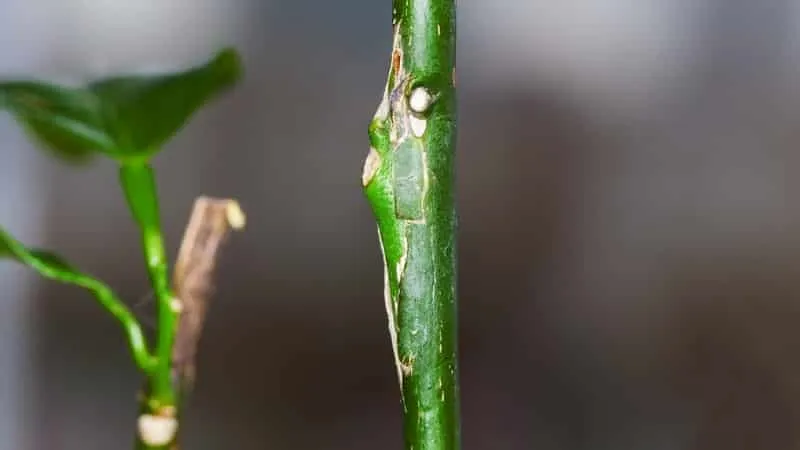
Bud Grafting (T-Budding & Chip Budding)
Bud grafting uses a single bud instead of a branch. It’s ideal for mature trees and multi-variety grafting.
Tip: Use bud grafting to grow lemons and oranges on the same tree.
T-Budding
The bark holds the bud snugly for faster healing:
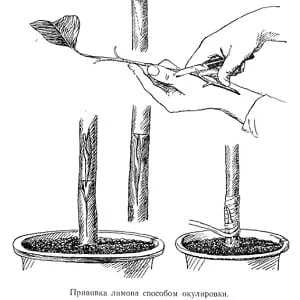 Make a 1.5 cm horizontal and 2.5 cm vertical cut (T-shape) 6–8 cm above soil. Peel back the bark gently.
- Cut a bud with a 2.5 cm shield of bark from the donor. Remove the leaf, keeping the stalk.
- Slide the bud under the rootstock’s bark, exposing only the bud.
- Wrap tightly with tape, leaving the bud uncovered.
- Water and cover with a bag.
Remove the bag and leaf stalk only after the bud sprouts.
Chip Budding
Matching angled cuts join the bud and rootstock. This method is trickier but effective.
Steps:
- Make a 45° downward cut (2.5 cm long) on the rootstock 6–8 cm above soil.
- Cut a bud with a matching angle from the donor (2–3 buds, 2.5 cm long). Handle by the stalk, not the cut.
- Press the cuts together firmly and wrap with tape. A toothpick "splint" can stabilize the joint.
- Water, then cover with a bag.
Remove the bag only after new growth appears. Gradually expose the tree to air before snapping off the leaf stalk.
Warning: This method has a lower success rate.
Post-Grafting Care
Special care ensures graft success:
- Keep the tree in shade—direct sun hinders healing.
- Ventilate the bag daily for 10–15 minutes.
- Water when soil dries; mist leaves with room-temperature water.
- Prune rootstock shoots 10 cm above the graft. Remove competing growth after scion buds sprout.
- Support the tree with a stake if needed.
Pro Tips
Boost success with these tips:
- Failed grafts often result from air pockets. Ensure cuts fit perfectly and tape is snug.
- Sterility is key. Use gloves, sterilized tools, and avoid touching cuts.
- Place a damp cotton pad in the pot to maintain humidity under the bag.
Conclusion
Grafting a lemon isn’t mandatory but highly rewarding. It accelerates fruiting, upgrades seed-grown trees, and allows citrus hybridization. Don’t hesitate—lemons heal quickly. Just pick a method, follow the steps, and enjoy your fruitful results!