Chili pepper — the most popular spice among lovers of "spicy." It is used not only in cooking but also in medicine and cosmetics. The benefits of the plant were well known to the Aztecs and Mayans — Europeans first received the seeds from these peoples.
Today, even a beginner can successfully grow chili peppers: beautiful bushes will make a great decoration for a balcony or windowsill and will undoubtedly delight their owner with spicy, flavorful fruits.
Table of contents
Choosing the Right Pepper Variety for Indoor Growing
Growing chili peppers at home on a windowsill is not difficult if you choose the right variety.
Exotic pepper names: Swallow, Bell Pepper come in different shapes, fruit colors, leaf shades, and maturation times.
Early-ripening varieties mature in 90-120 days, while mid-season varieties take 120-140 days from planting.
The Tabasco variety has intensely hot flesh. It is suitable for growing on a windowsill, while for commercial purposes, it is cultivated on plantations. This pepper is prized for its early maturation.
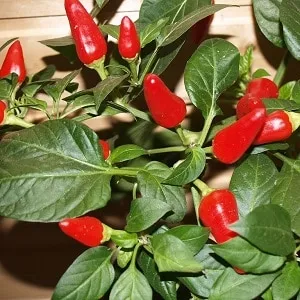
Salute is a dwarf variety, with a compact, rounded bush growing up to 20 cm tall. Its five-centimeter-long fruits, shaped like orange and red cones, point upward and have a strong aroma.
The Aladdin variety can be grown on a windowsill or outdoors. Its fruits change color from green to cream, purple, and finally red. This pepper is known for its long and abundant fruiting, as well as its early maturation.
Bell Pepper has red fruits of an unusual shape and matures in 150 days. The spiciness in the fruits is unevenly distributed.
Other popular early-ripening varieties for indoor growing include:
- Dwarf;
- Watercolor;
- Treasure Island;
- Firstborn.
Note. There are also inedible pepper varieties grown solely for decorative purposes: Red Rocket, Pepperoni, Orangelo, Clown, Filius Blue, Goldfinger.

How to Obtain Chili Pepper Seeds
You can acquire seeds for growing peppers in two ways: purchase them from a gardening store or collect them yourself. In the first case, it is important to choose high-quality seeds that guarantee good germination.
Experts recommend following these rules:
- Before buying seeds, carefully inspect their appearance: damaged or deformed seeds often fail to sprout. Additionally, they should be large enough — small seeds tend to produce weak, sickly plants.
- The seed surface should not have yellow, orange, or brown spots. If present, it means the seeds were dried at high temperatures, which can be harmful.
- To save time and avoid disappointment, check the seeds for germination. Place them in a container of water, add a growth stimulant, and soak for 24 hours. Then add soil and wait for roots to appear — this usually takes 2-3 days. If no roots grow, the seeds are likely of poor quality.
To avoid purchasing low-quality seeds, it is best to collect them yourself.
For reference. The key rule here is to wait until the fruits are fully ripe — this happens not when they are ready to eat but much later.
The right time to collect seeds is when the pods begin to dry out, and the tip turns brown. Carefully cut the pepper in half, shake out the seeds, rub them between your fingers, and blow away any remaining pulp. Wear gloves and goggles, as tiny particles can irritate the skin and eyes. Store the seeds in a dry place.
To learn about Sichuan pepper, follow this link.
Planting Time
Sow seeds for seedlings in February-March. You will need special soil, which can be prepared at home or purchased ready-made from a gardening store.
The exact sowing time should be calculated so that germination occurs in early spring, when daylight hours are increasing. This ensures the plants receive enough natural light, eliminating the need for additional lighting setups.
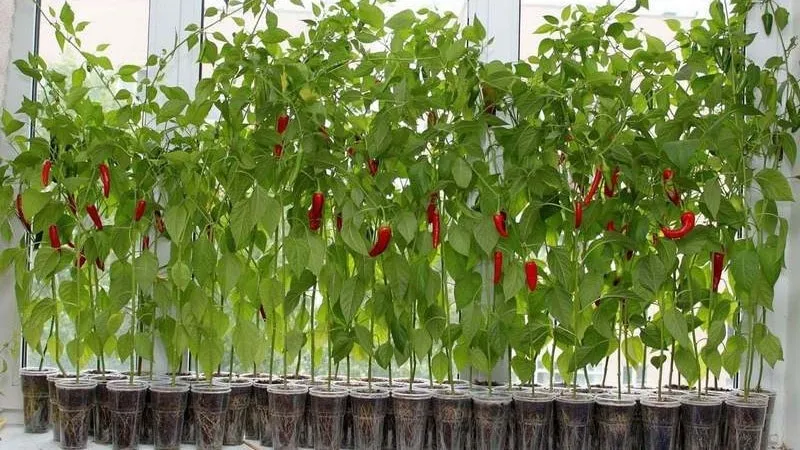
How to Grow Chili Peppers at Home on a Windowsill
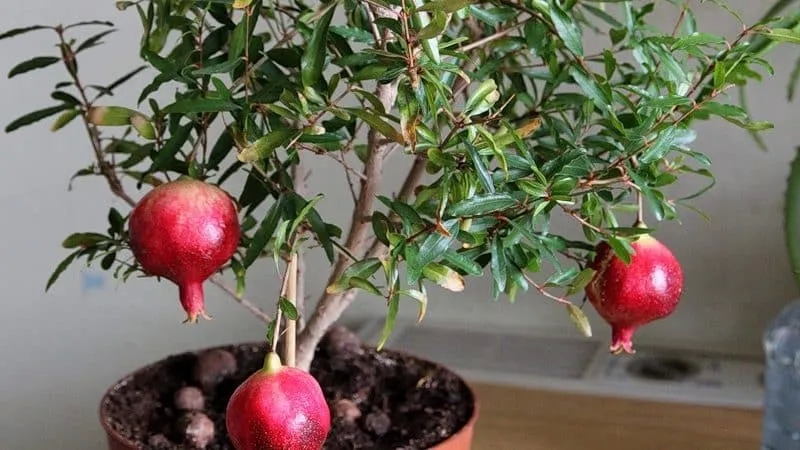
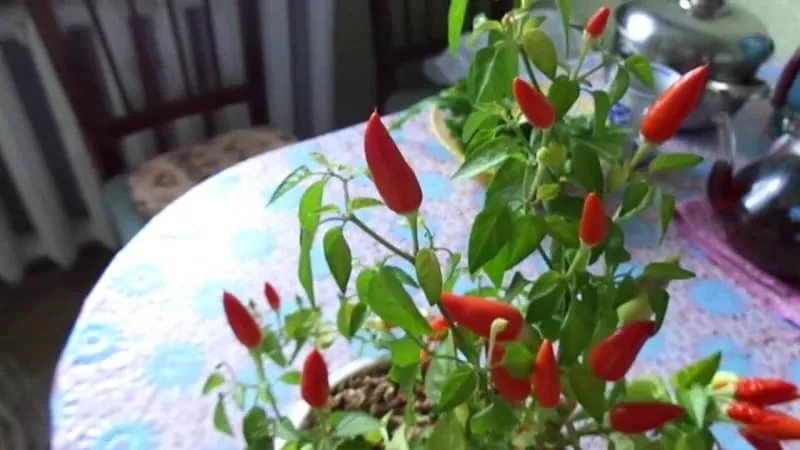
Hot peppers are often grown in pots at home. But not everyone knows how to do it correctly. By learning the main cultivation secrets, you can easily grow this plant on your own windowsill.
Chili peppers thrive both outdoors and indoors. Their bright red fruits beautifully decorate windowsills or garden beds.
Seed Preparation and Germination
Before planting, prepare the seeds as follows:
- Remove damaged and spoiled seeds. Place the seeds in a saltwater solution (10 g of salt per 1 liter of water) — empty seeds will float and can be discarded.
- Disinfect the seeds in a weak potassium permanganate solution. Soak them for 15 minutes, then rinse thoroughly with water and dry. Alternatively, use specialized antifungal treatments, following the instructions on the package.
- To grow a stronger plant, soak the seeds in a nutrient solution. A wood ash infusion (20 g per 1 liter of water, steeped for 24 hours) works well. Growth stimulants available in gardening stores can also be used — they serve as both fertilizer and disinfectant.
- To encourage sprouting, germinate the seeds. Spread them in a single layer on a damp cloth or paper towel and cover. Keep the cloth moist. This process helps identify viable seeds, discard unsuitable ones before planting, and speeds up germination.
Did you know? Chili peppers contain capsaicin, which boosts metabolism and promotes fat burning.
Seedling Care
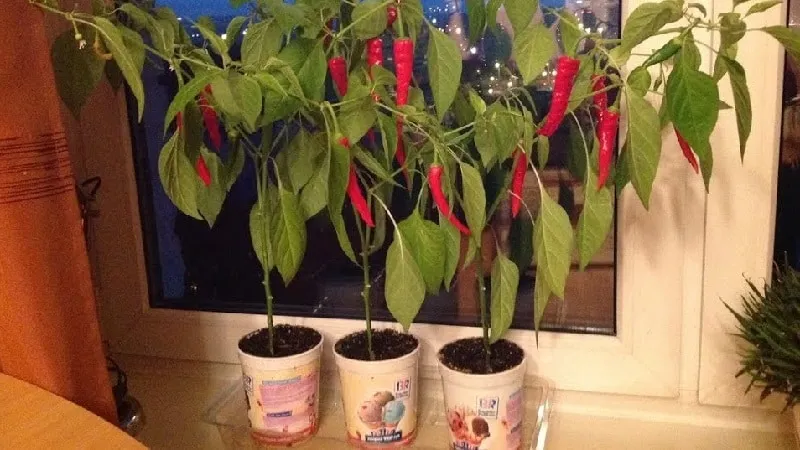
In summer, take the plant out to a balcony or loggia, and in winter, place it on a sunny windowsill. To extend daylight hours, hang grow lights above the plant.
Note. If the plant lacks light, the leaves will turn pale and eventually fall off. In this case, increase the duration of artificial lighting.
Water the pepper at the base as the soil dries out. Use room-temperature water, and mist the leaves occasionally.
Choosing the Right Location and Optimal Growing Conditions
During intense sunlight, provide slight shade. In summer, move the plant to a balcony or loggia, but avoid drafts. When ventilating, keep the plant away from open windows. If you have old windows, seal any gaps.
Important! In winter, the air temperature should not drop below +18 °C, while in spring, the ideal range is +20…+24 °C.
Transplanting Peppers into Pots
When seedlings reach 10-15 cm, transplant them into individual pots. Wide, shallow plastic containers work best.
Transplant as follows:
- Place a 3 cm layer of small stones at the bottom for drainage;
- Fill the pot with pepper-specific soil;
- Dig small holes, place the seedlings with their root ball (without burying the stem too deep), and cover with soil;
- Firm the soil around the stem and water lightly;
- Wait a week before watering again to allow roots to establish.
For reference. Avoid overwatering until roots strengthen — excess moisture can cause rot.
Choosing the Right Container
A single plant per pot looks attractive, but planting multiple peppers together can lead to stronger plants overshadowing weaker ones, resulting in uneven growth. Stunted plants will delay flowering and produce small, unimpressive fruits.
Chili peppers are typically grown in small containers. They don’t need large pots: seedlings can start in 150-200 ml cups before being transplanted into 3-6 L containers.
Avoid ceramic pots, as they dry out the soil quickly. If roots start emerging from the drainage holes, it’s time to repot.
Learn how to make a delicious dill sauce here.
Suitable Soil Mix
Hot pepper varieties are not overly demanding when it comes to soil — even regular garden soil will work. However, it may carry pests or diseases from previous crops.
For better germination conditions, purchase seedling substrate from a gardening store. Peat-based mixes are ideal.
Preparing the Soil
Some prefer making their own nutrient-rich soil. You will need:
- 2 parts leaf mold;
- 1 part peat;
- 1 part river sand;
- 1 part coconut coir;
- 1 part perlite or vermiculite.
Before planting, disinfect the soil by treating it with a fungicide like "Previcur" to prevent fungal diseases.
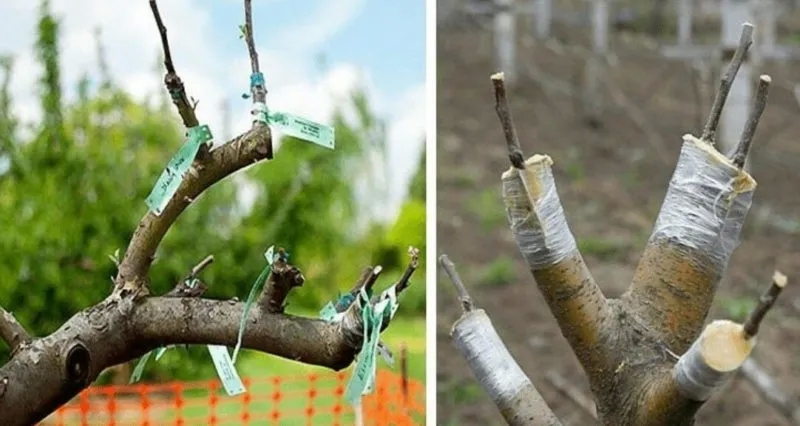
Pruning and Pollination
Final root establishment and active growth begin after 15-20 days. At this stage, the pepper will produce new shoots. Indoor peppers do not require pruning.
Their fruits are small, and the plant has enough energy to support them. Staking is also unnecessary — the stems are strong enough to hold the fruit weight.
Once flowering begins, gently shake the branches to aid pollination. Rotate the plant daily for even light exposure. Otherwise, stems will lean toward the light.
Watering and Fertilizing
Pay special attention to watering. Insufficient moisture will cause leaves to drop and the plant to die. Use lukewarm water. Extra care is needed during the heating season — mist the plant occasionally.
Note. Overwatering is equally harmful. Excess moisture can lead to root rot.
Fertilize monthly with a balanced NPK (nitrogen, phosphorus, potassium) fertilizer. Nutrient deficiencies may cause leaves to turn purple.
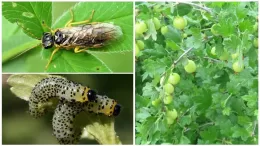
Diseases and Pests
Chili peppers have strong resistance to diseases and pests due to their natural spiciness. However, improper care can still cause issues.
Common threats include:
- Spider mites. Thrive in low humidity, causing yellowing and leaf drop. Treat with fungicides or a warm soapy water rinse. Prevent by misting and sprinkling ground pepper on the soil.
- Root rot. Caused by overwatering. To save the plant, remove it, rinse the roots, trim affected parts, and treat with charcoal. Repot and reduce watering.
- Fungus gnats. Often spread from nearby plants. Deter with soapy wipes and ground pepper.
Secrets to Growing Hot Peppers Indoors
The key to a bountiful harvest is choosing the right variety.
Best options for indoor growing:
- Chili;
- Coral;
- Adjika.
All decorative hot peppers adapt well to indoor or balcony conditions. For aesthetic appeal, grow multiple varieties together.
Colorful varieties for windowsills:
- Indian Summer;
- Spark;
- Bolivia;
- Mambo;
- Dark Olive;
- Medusa.
High-quality seeds are crucial. Old seeds often produce weak plants.
Key Tips
Pre-moisten the soil before sowing — it should be damp but not sticky.
Tip. Faster germination occurs in warm (+25 °C), humid conditions with good airflow.
Testimonials
 Growing peppers indoors is generally well-received.
Growers’ opinions:
Sophie: “Last year, I learned how to grow chili peppers from seeds at home. The results matched the seed packet photos. The process is so simple that anyone can succeed. Now I add chili to almost every dish for extra spice.”
Luca: “I love spicy food and always felt my dishes lacked heat. Growing chili peppers solved this — fresh peppers are always within reach. I started two years ago and now enjoy homegrown spice whenever I want.”
Conclusion
Chili peppers add a spicy kick to dishes while providing vitamins A, B, and C. For a family, 3-5 plants are sufficient. They thrive both indoors and outdoors, making them popular among gardeners and houseplant enthusiasts alike.
For more details on growing peppers from seeds, check out this video: