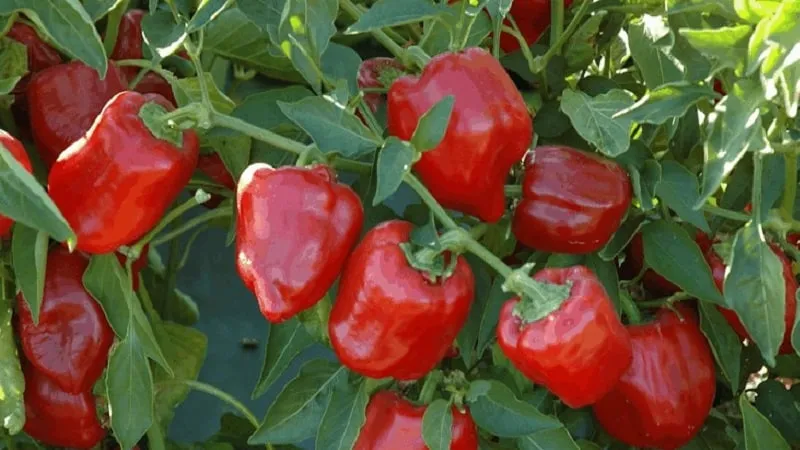
Surprisingly, the bell pepper does not actually originate from Bulgaria! This plant is native to South America. It was from there that the sweet pepper made its way to Europe. In many European countries, it became widely known as "bell pepper" due to its shape.
This southern beauty has adapted well to temperate climates. However, growing it is no easy task, as it is a sun-loving, heat-dependent plant. In this article, you will learn about the agricultural techniques for cultivating sweet peppers in open ground and how to grow them at home.
Table of contents
Choosing the Right Variety
How to grow peppers? Before starting cultivation, it is essential to select the right variety. When choosing, consider not only taste preferences but also the intended use of the harvest.

For fresh consumption, opt for thick-walled, large-fruited varieties such as California Wonder, Gladiator, or Golden Bell.
If you plan to use the harvest for winter preserves, choose smaller-fruited varieties like Mini Belle, Sweet Banana, or Cherry Pepper.
For Open Ground
For outdoor cultivation, select hardy yet high-yielding varieties and hybrids. Examples include Marconi, Corno di Toro, Lipstick, and Sweet Chocolate.
If summers in your region are short and not particularly warm, consider early-maturing, low-growing hybrids. These are disease-resistant and provide stable yields even in cooler climates. Recommended varieties include Redskin F1, Early Sunsation F1, and Mohawk F1.
For Home Cultivation
For growing on a windowsill, choose compact, low-growing varieties. These plants typically do not exceed half a meter in height and are well-suited for indoor conditions. Here are some of the best varieties for home cultivation:
- Tiny Treasure. An early-maturing variety, ready for harvest in 90-100 days from germination. The fruits are juicy, orange-red, and weigh up to 60 g.
- Redskin. A mid-season variety, maturing in 110-115 days. The peppers are bright red, large, and weigh up to 100 g.
- Patio Fire. A mid-season variety, ready in about 110 days. The fruits are juicy, red, and conical, weighing up to 80 g.
- Mini Belle. Another mid-season variety, maturing in around 110 days. The peppers are small, weighing about 30 g, with thin skin.
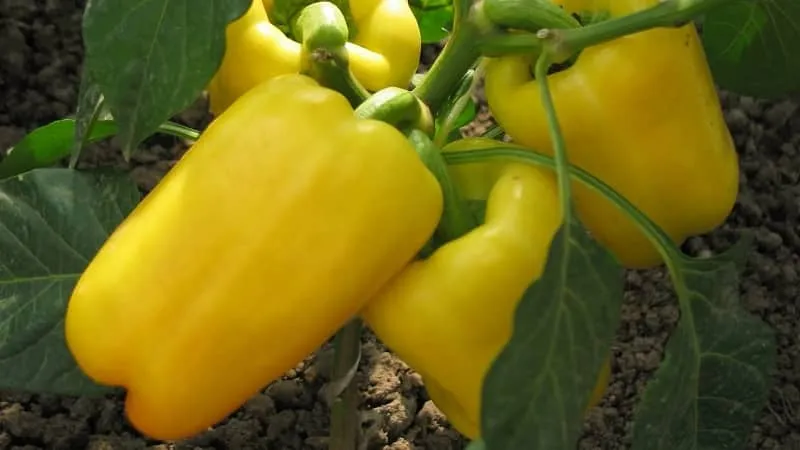
- Golden Bell. A mid-to-late variety, with fruits ripening in 125-135 days. The peppers are large, deep red, and rich in flavour, weighing up to 90 g.
- Apache. A mid-season variety with red, juicy fruits, maturing in about 130 days. The peppers are medium-sized (up to 85 g) with thick walls.
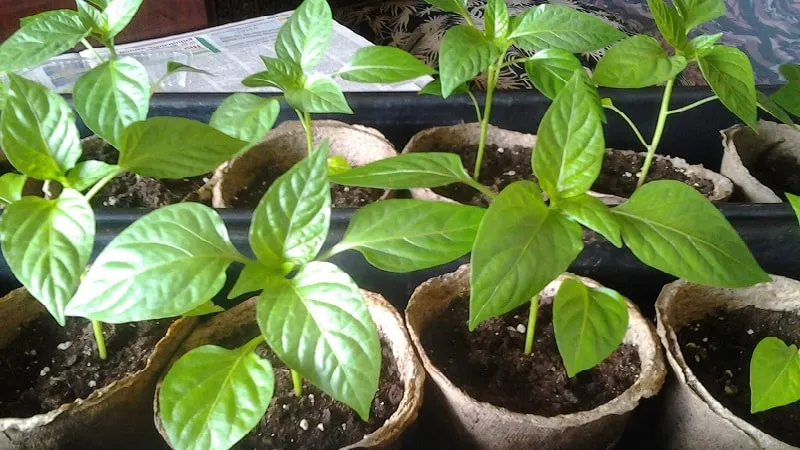
Growing Pepper Seedlings
Heat-loving bell peppers are primarily grown through seedlings. Preparation begins with seed treatment.
Seed Preparation
To protect future plants from infections, soak seeds in a 2% potassium permanganate solution for 20 minutes. Then rinse them with cool water.
After disinfection, seeds are soaked in a nutrient solution (such as "Seasol" or "BioRoot"), or natural growth stimulants. Prepare the solution according to the instructions.
Next, wrap the seeds in damp gauze and keep them in a warm place for a few days until they sprout. They are now ready for planting.
Planting
The timing of pepper seedling planting depends on the local climate. On average, seeds should be sown no later than early March. Only early and ultra-early varieties are planted later.
Prepared seeds are planted in peat pots filled with loose, fertile soil. Place the seeds on the surface and cover them with 1-1.5 cm of soil. Firm the soil, water it, and cover the pots with cling film. Then move the containers to a warm place (around +25°C).
Note. Pepper seeds germinate slowly. The first sprouts appear after 1-2 weeks. Germination can be accelerated by extending daylight hours with grow lights.
Once sprouts appear, puncture the film in several places with a needle. Remove the cover completely after 2-3 leaves develop. Now, it's time for pricking out.
Pricking Out
Transplanting seedlings into larger containers promotes root system development. The roots become stronger and better at holding the soil.
Prepare new pots in advance, fill them with soil, and water generously. Carefully transfer the seedling into the centre hole, ensuring the main root isn’t bent and the leaves sit 2 cm above the soil. Firm the soil around the plant and water with warm water.
Seedling Care
Young plants are sensitive to drafts and low temperatures (below +13°C). Once sprouts appear, move the containers to the sunniest windowsill in the house.
Water the plants sparingly — about once a week — but thoroughly. Use warm, settled water, pouring it at the base to avoid wetting the leaves. Loosen the topsoil after watering.
Feed the seedlings according to this schedule:
- First feeding: 10-14 days after pricking out. Dissolve 5 g of urea and 30 g of superphosphate in 10 L of water.
- Second feeding: 3-4 days before transplanting outdoors. Dissolve 50 g of superphosphate and 25 g of potassium sulfate in 10 L of water.
Planting Technique and Layout
Pepper seedlings are transplanted outdoors or into a greenhouse once the weather warms. Before transplanting, harden the plants. Begin hardening 10-15 days before planting.
On the first day, open the window near the seedlings for an hour. Gradually increase exposure to 6-8 hours daily. Before transplanting, place the pots on a balcony or in a cold frame.
Determining Transplant Timing
Plants are ready for transplanting at 2-2.5 months old. By this time, they usually develop their first buds. Before planting, ensure the average daily temperature stays above +15…+17°C.
Important! At temperatures below +13°C, plant growth stops.
Preparing the Soil
Peppers dislike heavy soils. Improve clay soils by adding peat and compost.
Dig over and level the planting area. Before planting, apply mineral fertilisers containing nitrogen, phosphorus, and potassium. Mix well for even distribution.
According to crop rotation rules, the best predecessors for peppers are carrots, zucchini, cucumbers, and pumpkins.
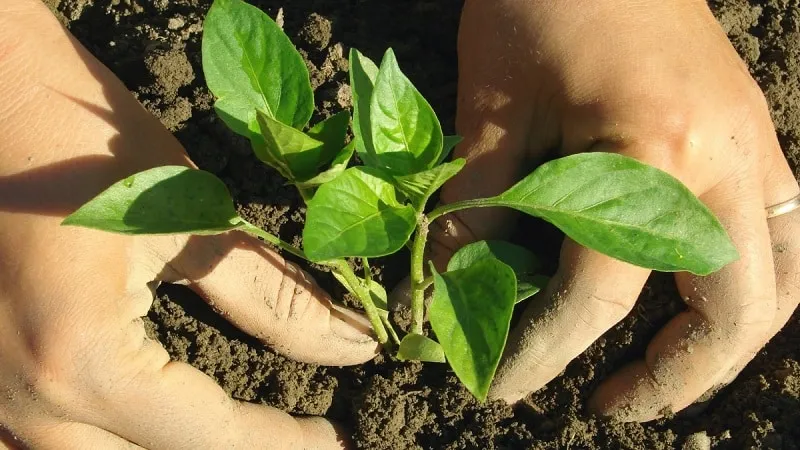
Transplanting Seedlings
Space the holes 50 cm apart, with 60 cm between rows. Make the holes deep enough so the root neck sits slightly above the soil.
Remove the plant from its pot, keeping the root ball intact, and place it in the hole. Partially fill with soil and water generously — about 3 L per hole.
Once the water is absorbed, fill the hole completely. Mulch with peat or straw. If nights are still cold (below +13°C), cover the plants.
Care Guidelines
Caring for pepper plants is similar to tomato cultivation. Water them, loosen the soil, apply fertilisers, and prune excess shoots.
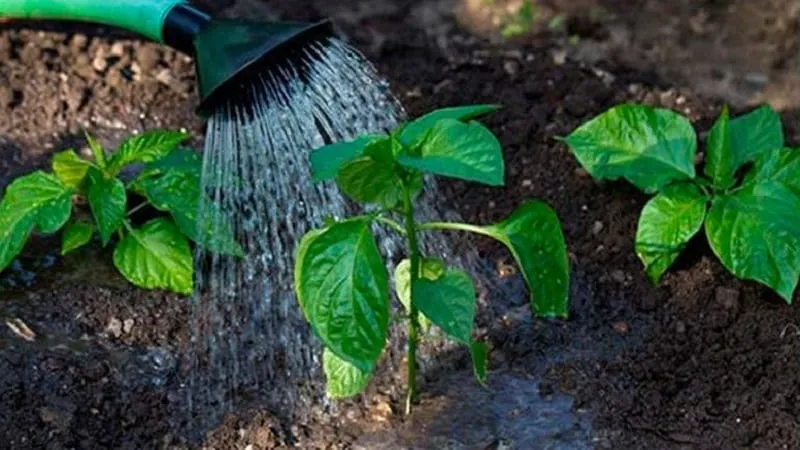
Watering and Feeding
Water peppers immediately after transplanting. Afterwards, water about once a week until the first major harvest. Then pause briefly and resume watering when new flowers appear.
Apply nitrogen, phosphorus, and potassium fertilisers at least three times per season. First, two weeks after transplanting. Second, when multiple fruits set. Third, 2-3 weeks later.
Foliar feeding with micronutrients improves yield quality. Peppers often lack boron, leading to small fruits.
Pest and Disease Control
Peppers are susceptible to diseases common in nightshade vegetables. These are caused by viruses, bacteria, or fungi.
Common pepper diseases include fusarium wilt, blight, bacterial spot, and damping-off. Pests include aphids, cutworms, thrips, and mole crickets.
Fusarium Wilt
A fungal disease leading to wilting and plant death. First signs are yellowing leaves and tops.
Prevention includes crop rotation, resistant varieties, and seed disinfection. Remove and destroy infected plants — no cure exists.
Blight
This fungal disease thrives in cool, damp conditions. Identified by brown leaf spots with pale green halos.
Prevent with seed treatment and garlic/onion sprays. Treat with Bordeaux mixture.
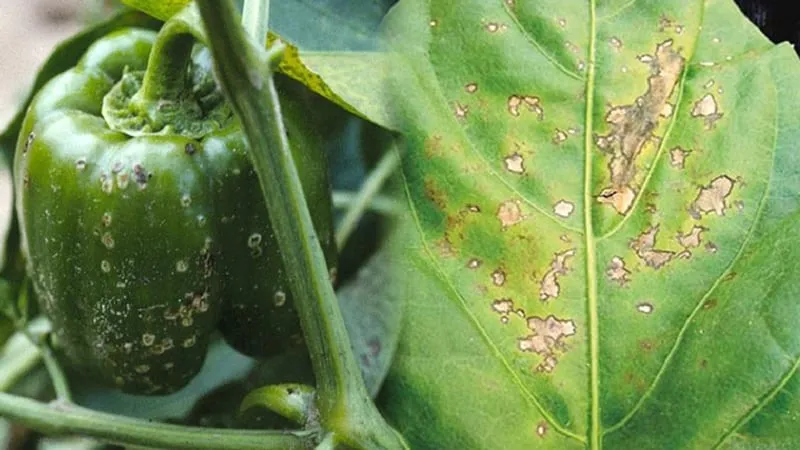
Bacterial Spot
This disease can destroy half the crop. Symptoms are white leaf spots with dark edges, later developing spores. Infected parts dry out.
Prevent with crop rotation and seed treatment. Treat with "Trichoderma" or "Bacillus subtilis". Remove infected plants.
Damping-Off
A seedling disease. Prevent by maintaining proper temperature and humidity.
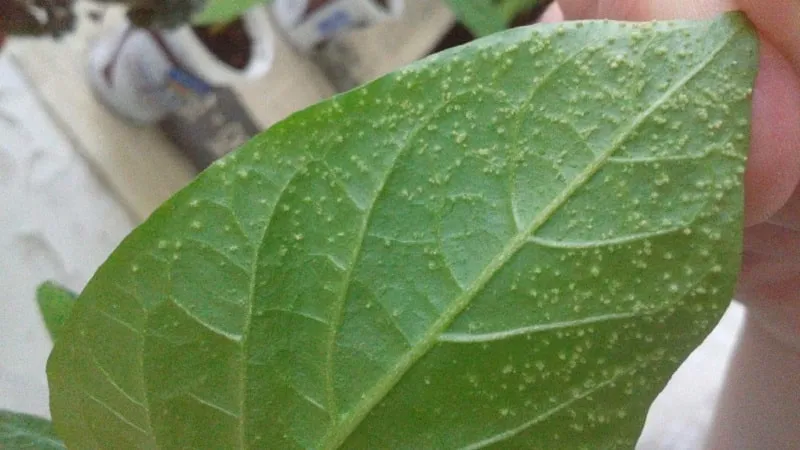
Aphids
Affects seedlings and mature plants. Sucks sap, causing leaf curl and stunted growth. Control with wormwood sprays or "Pyrethrum".
Cutworms
Caterpillars eat leaves and burrow into fruits. Use light or pheromone traps.
Thrips
Tiny insects that drain plant sap. Leaves turn yellow and die. Treat with "Spinosad" or "Acetamiprid".
Mole Crickets
Large insects that destroy roots. Control with deep tilling and "Chlorantraniliprole".
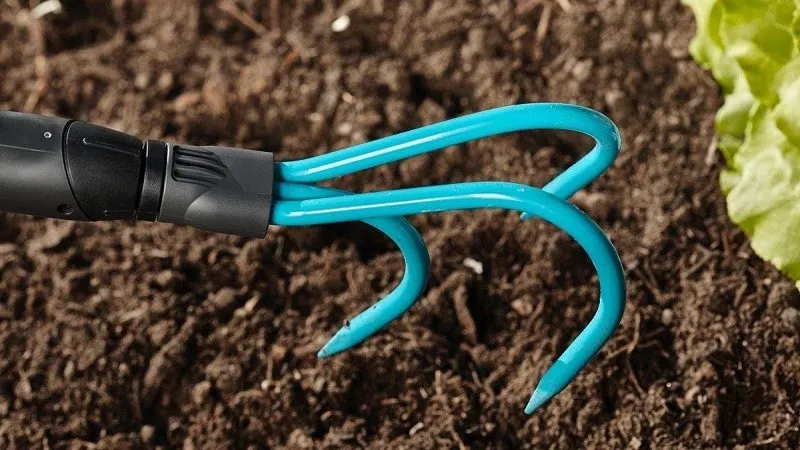
Soil Loosening and Pruning
Loosen soil after each watering. Work shallowly (under 5 cm) to avoid root damage. Hill plants and weed simultaneously.
Mulching reduces watering needs. Use straw, compost, or dry grass.
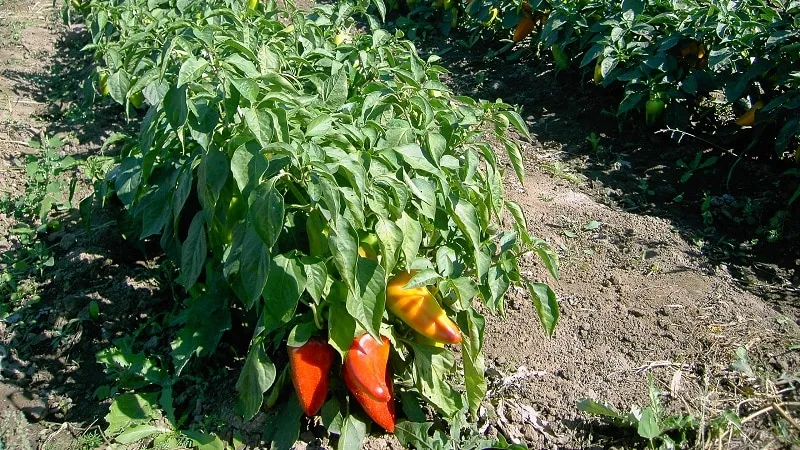
Pepper bushes require shaping, especially in short summers. Keep 3-5 strong stems per plant. Remove others.
Pinch main stems after fruit sets to speed up ripening.
Key Considerations
In hot climates, peppers need shade during extreme heat. Pollen becomes inactive above +30°C — use shade nets.
Pepper stems are fragile. Stake them and plant windbreaks nearby.
Tips from Expert Agronomists
Follow these tips to avoid common pitfalls:
- Plant different varieties apart to prevent cross-pollination, especially sweet and hot peppers.
- Curling leaves with dry edges indicate potassium deficiency — apply potassium sulfate.
- For indoor peppers, use warm water and mist regularly. Cover radiators in winter.
- Rotate pots periodically for even light exposure.
- Feed with nitrogen fertilisers or organic solutions (wood ash, nettle tea).
- Repot annually and replace plants every two years.
Conclusion
Growing bell peppers outdoors requires effort. Consistent yields depend on proper care, variety selection, healthy seedlings, and pest control.